Discover the simple steps to mastering the art of peeling and cutting butternut squash. This short guide ensures a quick, safe, and easy process, turning a daunting task into a breeze.

Ah, the butternut squash – fall’s gift to our kitchen tables. Packed with fiber, vitamins, and a sweet, nutty taste, it’s a must-have for the season.
Once you’ve got a butternut squash and are ready to get cooking, however, the thought of actually cutting into the thick-skinned, odd-shaped vegetable might have you second-guessing yourself. Don’t let it! With the right approach, peeling and cutting this healthy winter squash becomes a breeze.
Let’s dive into these simple steps for peeling and cutting butternut squash like a pro.
Selecting and Washing
A ripe squash should feel heavy for its size, indicating a dense, meaty flesh. The skin should be a uniform matte beige or tan without any significant green spots, deep cuts, or bruises. A few surface blemishes are natural—it doesn’t have to be perfect—but avoid any squash with obvious mold or soft, sunken spots.
If you’re lucky enough to be picking a butternut squash from your own garden, you’ll know it’s ready when it has the matte beige color and the stem just starts to turn a little brown and shriveled. Also, if you give it a press with your thumbnail, the skin should be much harder to puncture than an unripe butternut squash.
Once you’ve selected a good one, you’ll want to wash it to remove any remaining dirt or contaminants. Just hold the squash under cool running water and gently rub or scrub the surface (a vegetable brush helps with this). Pat it dry with a paper towel so it won’t slip when you start to cut it.
Peeling the Squash
The first thing I do with a clean squash is cut off the ends to stabilize it so it will sit steady on my cutting board.

I also like to use a peeler as I find it to be much easier and safer than a knife when cutting a sometimes unwieldy butternut squash (the one I use is similar to this one—nothing fancy). I find the design that peeler gives you better control and makes it easier to peel the curvy shape of the squash.
Hold the squash firmly at the top (the thinner end). Starting from the top and working your way down to the bulbous end, run the peeler down the length of the squash with consistent pressure. Rotate the squash as you go, ensuring you’ve removed all the tough skin. You might need to lay the squash on its side sometimes as you go through the curvy middle part.
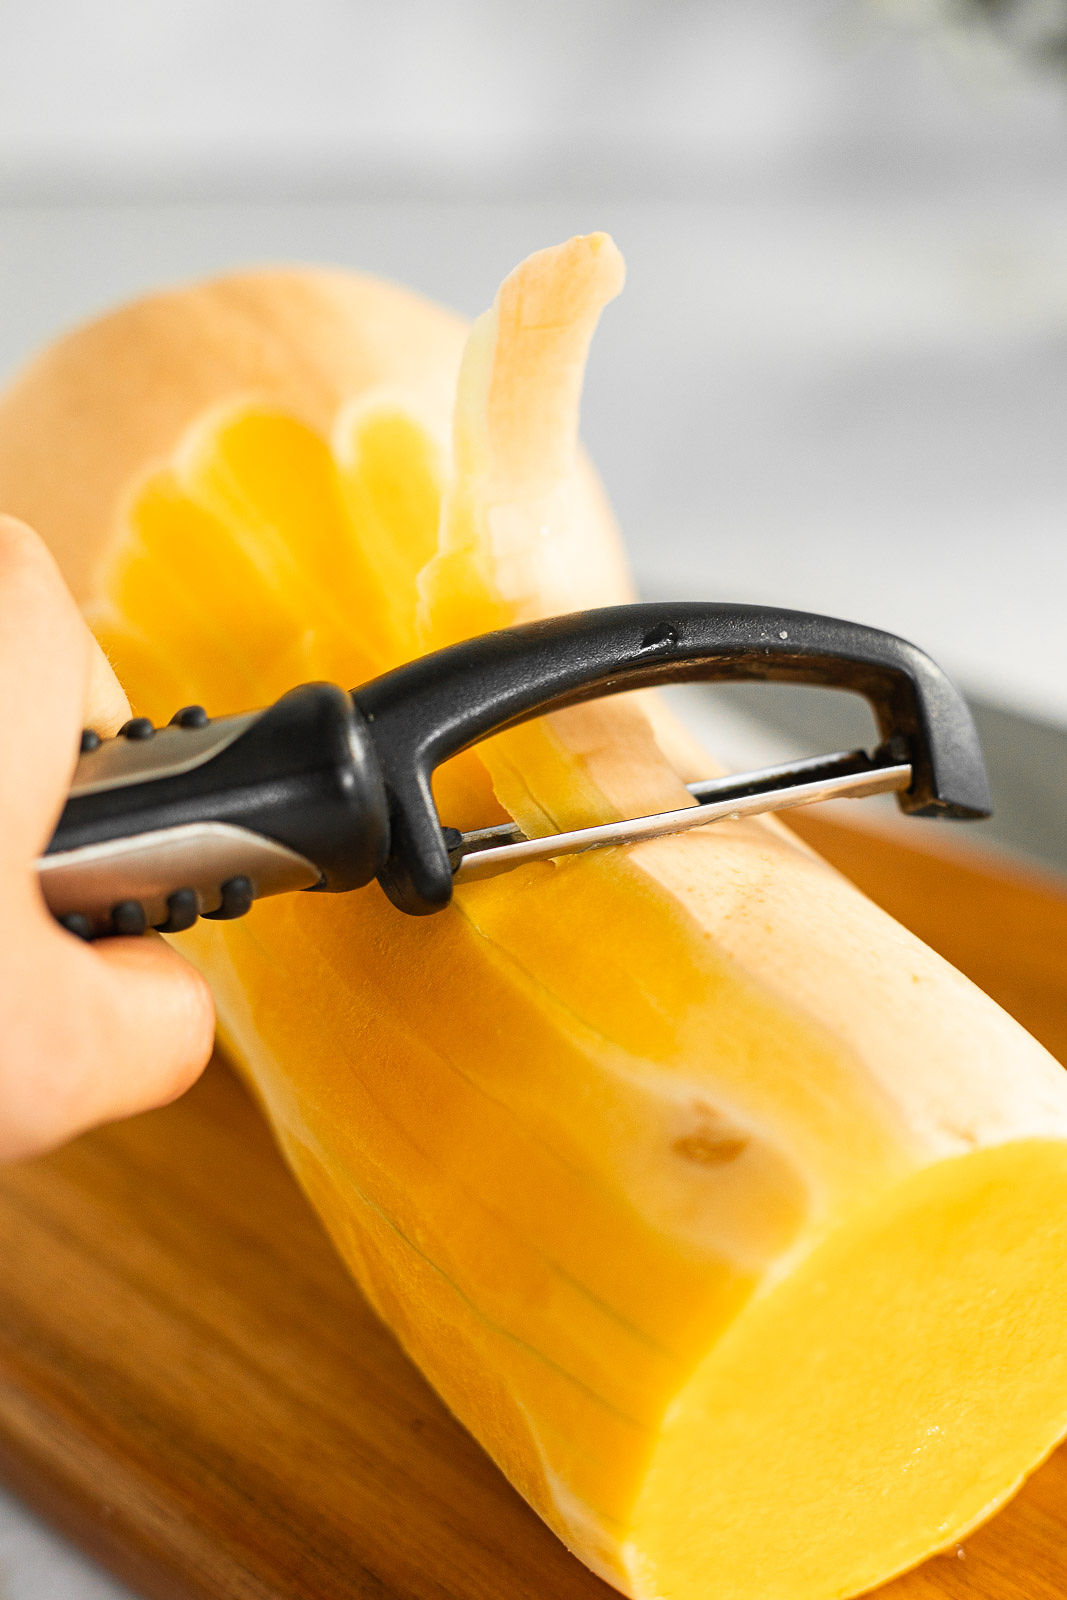
When you reach the wider, bulbous end of the squash, it may be helpful to flip the squash over and peel in the other direction.
After you’ve gone over the squash once, inspect it for any remaining skin or rough patches. I usually peel down until I’m into the nice yellow/orange colored part.
Cutting the Squash
With the skin peeled away, it’s time to dive into the heart of the butternut squash. Place your peeled butternut squash upright on your cutting board. The stable base you created by cutting off the ends will come in handy here since it will prevent wobbles as you cut.
Use a sharp, high quality chef’s knife and position it at the top of the squash for the initial split down the middle. Apply gentle downward pressure to insert the knife’s tip, and then use a rocking motion to carefully guide the knife down the center of the squash (tuck those fingertips!). Slice all the way through until the squash is split into two even halves.

Inside the bulbous end, you’ll find a cavity filled with seeds and fibrous strands. Using a spoon, scrape out the seeds and pulp.
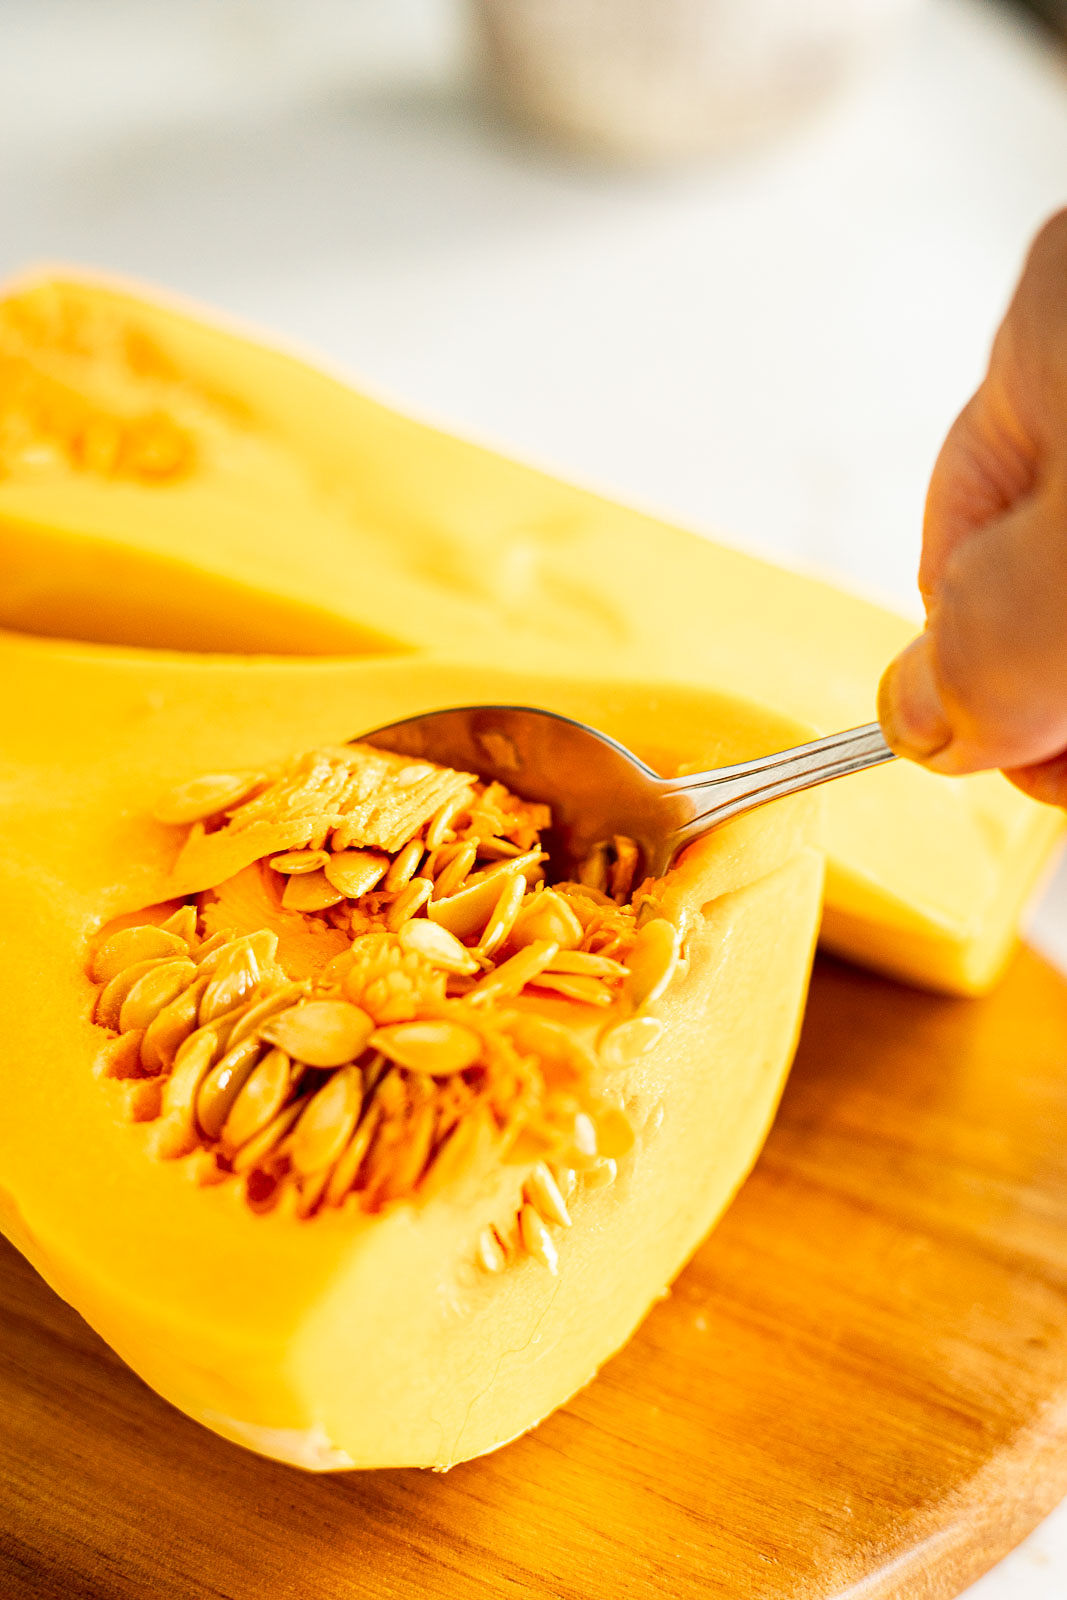
But don’t toss them out! Butternut squash seeds can be roasted for a crunchy snack, similar to pumpkin seeds. Simply rinse the seeds (again, similarly to pumpkin seeds), pat them dry, toss with a bit of olive oil and salt, then roast in the oven at 300°F (150°C) for 15-20 minutes or until golden.
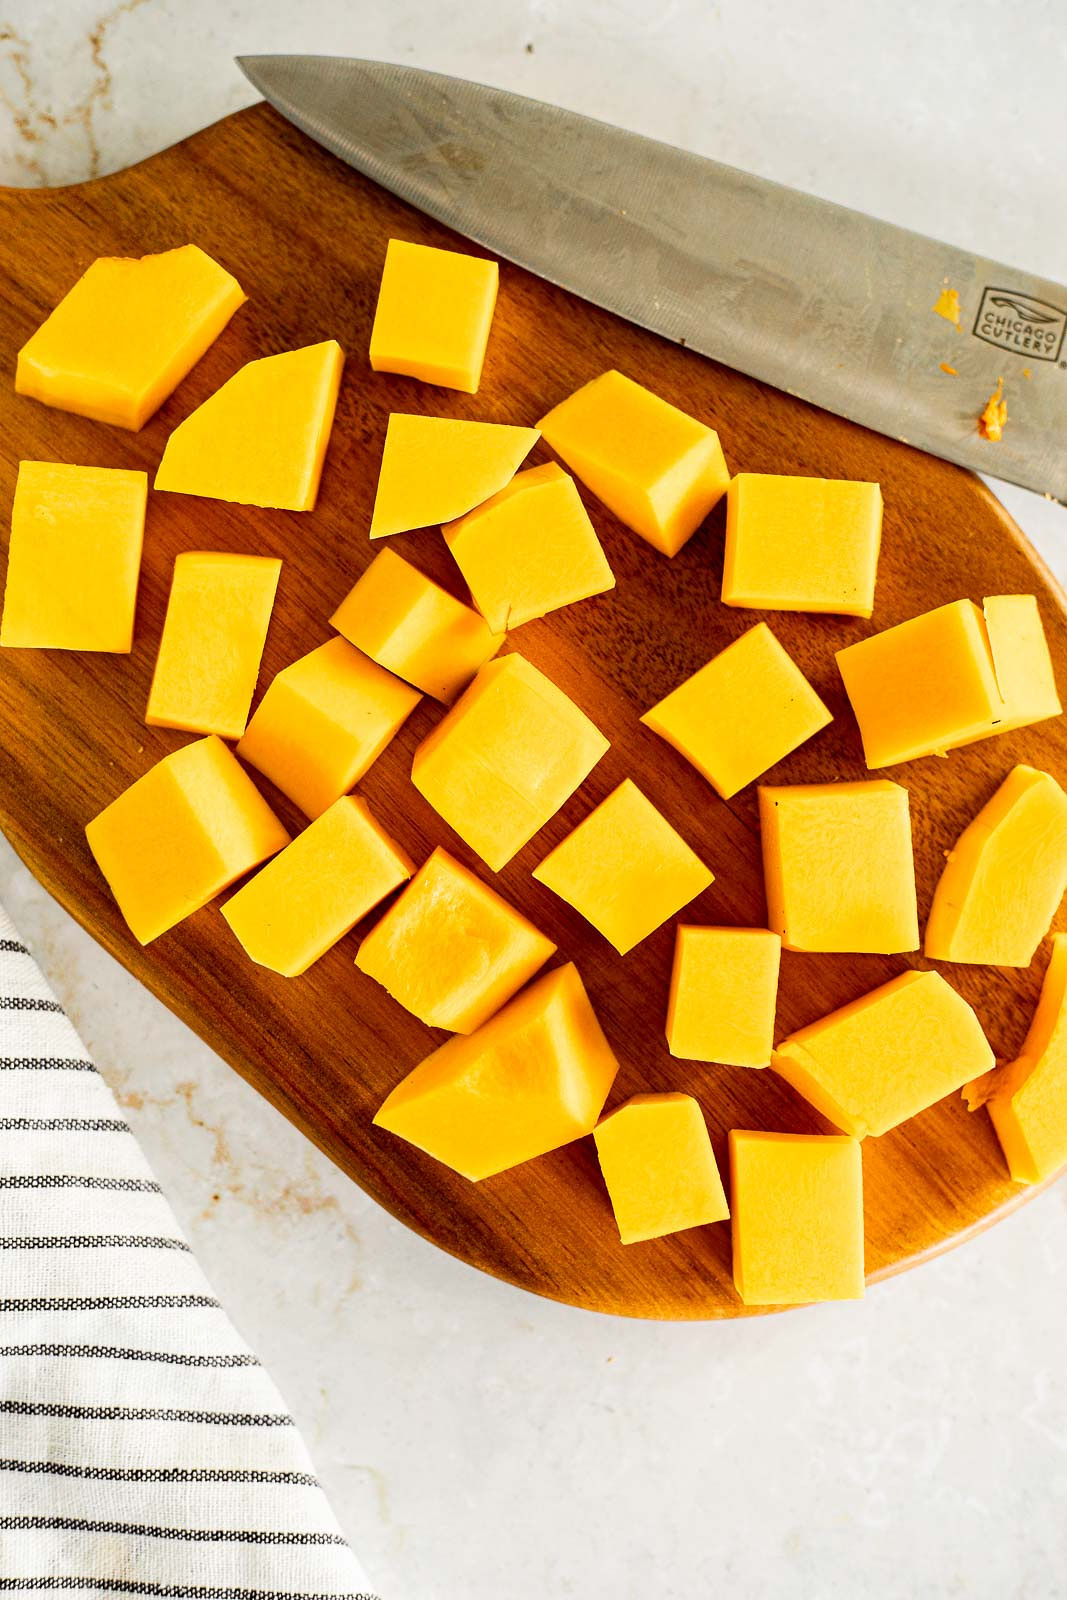
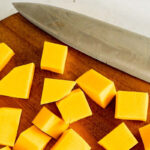
Lay each half of the squash flat-side down on your board. For cubes, slice the halves widthwise to your desired thickness. You can use them just like that, cut up into strips, or you can continue dicing them up to create cubes.
Your butternut squash is now ready for roasting, boiling, mashing, or whatever your recipe calls for!
Storing and Preserving
Place any unused portions of your cut up butternut squash in an airtight container or wrap them in plastic wrap. Pop them into the fridge and try to use them within 5-7 days for the best flavor and texture.
If you want to freeze your squash for longer term storage, you’ve got two options:
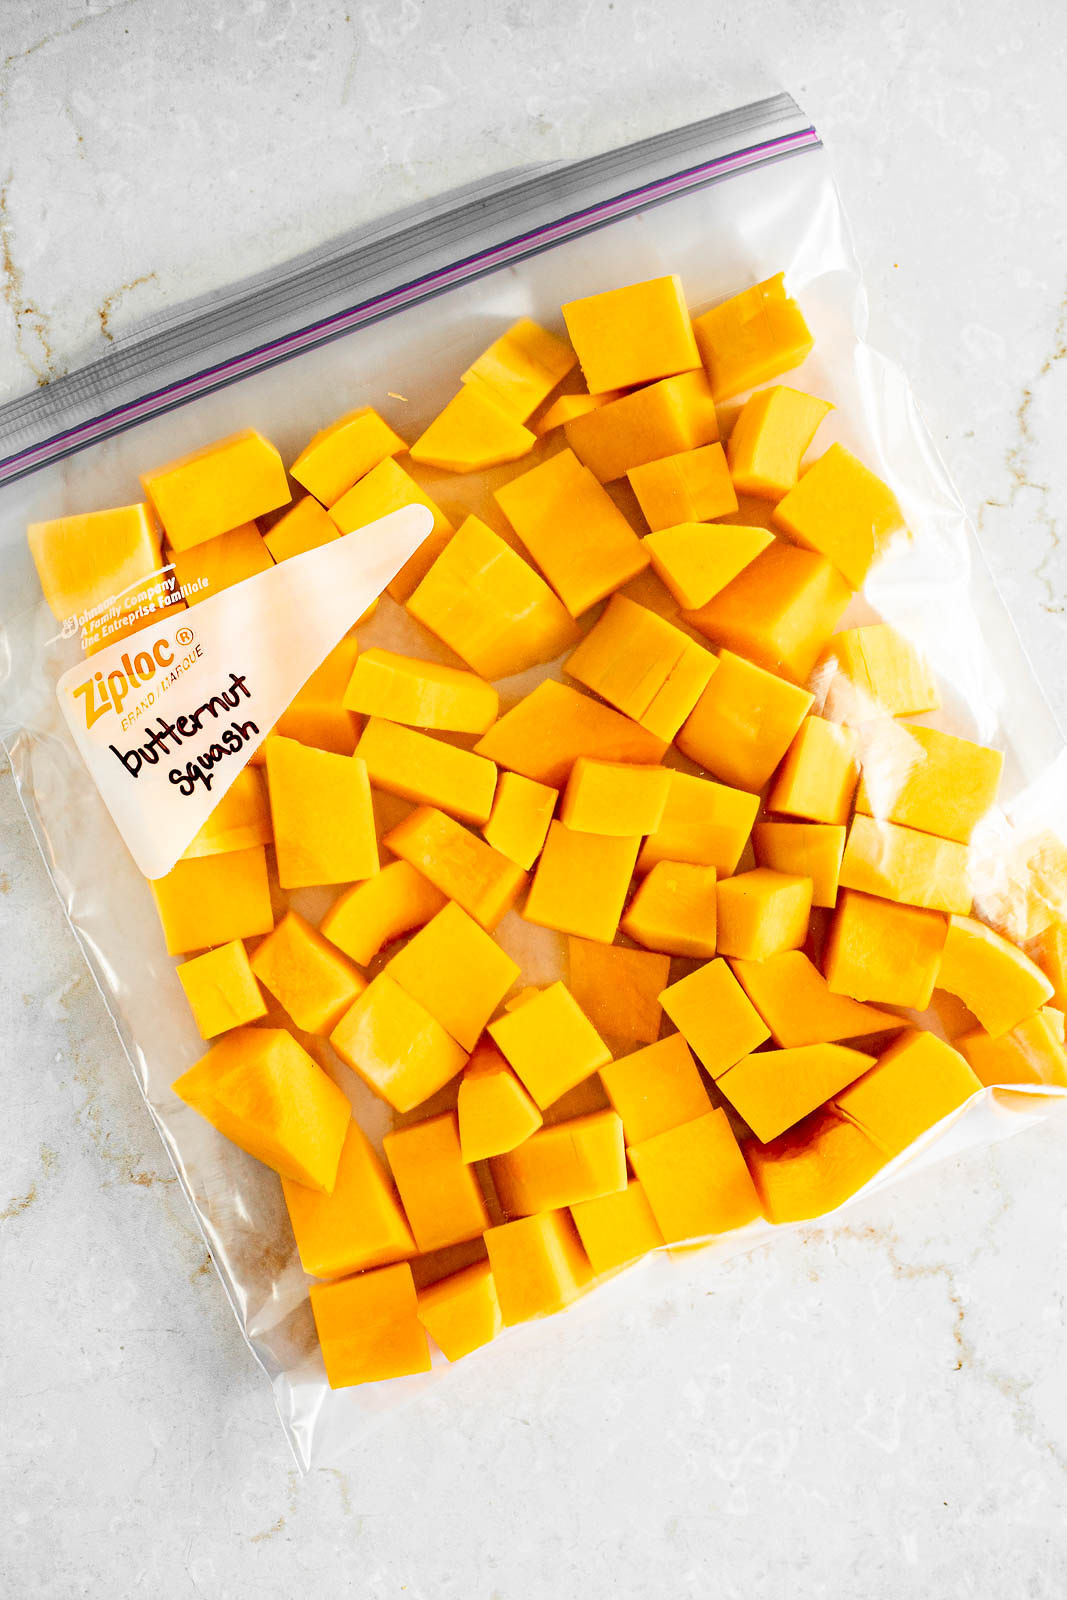
Option 1: Freeze without blanching. This is the easiest way and, to be honest, the one I usually do since I always seem to be pressed for time. I place my cut up cubes of butternut squash on a parchment-lined baking sheet and freeze for about an hour, then put them in a plastic bag and return them to the freezer. Pre-freezing them on parchment paper keeps them from being all stuck together when you go to thaw them out. This way works fine, but there can be some loss of flavor.
Option 2: Blanch before freezing. Blanching slows down the enzymatic activity that causes vegetables to decay (1). That can affect the color, flavor, and nutritional value of your squash, so if you want to squeeze out all the goodness you can, then it’s worth taking the time to blanch. To do so, simply boil the cut up butternut squash cubes for 2-3 minutes, then immediately transfer them to an ice bath to stop the cooking process.
Once your squash chunks have cooled and are thoroughly drained, spread them out on a baking sheet in a single layer to freeze, just as you did in Option 1, to prevent them from sticking together. After they’re frozen solid, transfer them into freezer bags or airtight containers.
Regardless of which option you choose, be sure to label your frozen squash. It’s easy to forget what’s what in the depths of your freezer, so labeling your bags or containers with the date and contents will make it clear. Properly stored, frozen butternut squash can last up to 6-12 months.
By properly storing and freezing your butternut squash, you’re not only extending its shelf life but ensuring that its rich, nutty flavor is preserved. Whether you’re whipping up a mid-week meal or planning a festive holiday feast, your squash will be ready and waiting!
Recipe Ideas
There are so many great butternut squash recipes out there, but here are some of our favorites:
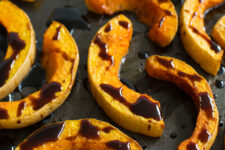
- Roasted Butternut Squash with Balsamic Reduction
- Butternut Squash and Rosemary Frittata
- Maple Butternut Squash and Parsnip Soup
How to Peel and Cut a Butternut Squash
Equipment
Ingredients
- 1 butternut squash
Instructions
- Wash your butternut squash.
- Cut the ends off so it can stand flat on your cutting board without wobbling.
- Peel the entire butternut squash with a sharp vegetable peeler.
- With the squash standing upright on the cutting board, slice it in half down the middle and scoop out the seeds.
- Cut the butternut squash crosswise into strips. Use them like that, or continue to cut up into cubes.