Pumpkin seeds are a nutritious snack loaded with fiber, omega-6 fatty acids, protein, and tons of valuable minerals. They’re also an inexpensive option, especially if you have leftover pumpkins sitting around.
The seeds inside your fall décor can be eaten whole—no need to spit out the hull. In fact, that fibrous yet soft casing adds even more prebiotic fiber to these nutritious seeds. And they are what make pumpkin seeds more nutritious than pepitas, which are naturally naked seeds that come from special hulless varieties of pumpkins.
Wondering how to clean pumpkin seeds from your jack-o-lanterns or leftover pumpkins? We’ve got seven super simple steps that make collecting pumpkin seeds, cleaning them, and prepping them for the oven as easy as it gets. Plus, we’ll give you some of our favorite pumpkin seed recipes so no seed goes to waste!
Clean Pumpkin Seeds in 7 Easy Steps
Gathering and cleaning pumpkin seeds is fairly straightforward, but there are some simple tricks that make the process even easier (and less messy).

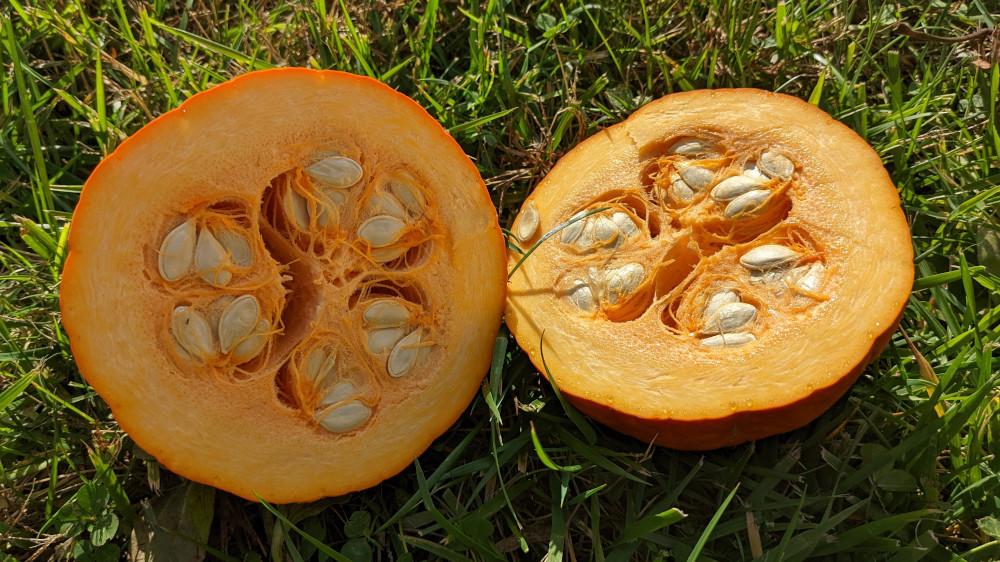
1. Cut Open the Pumpkin
Start by cutting open the pumpkins.
If you’re turning those pumpkins into jack-o-lanterns, then it’s best to cut a circle around the stem. Make sure it is large enough to fit your hand through easily but not so large it interferes with your artwork.
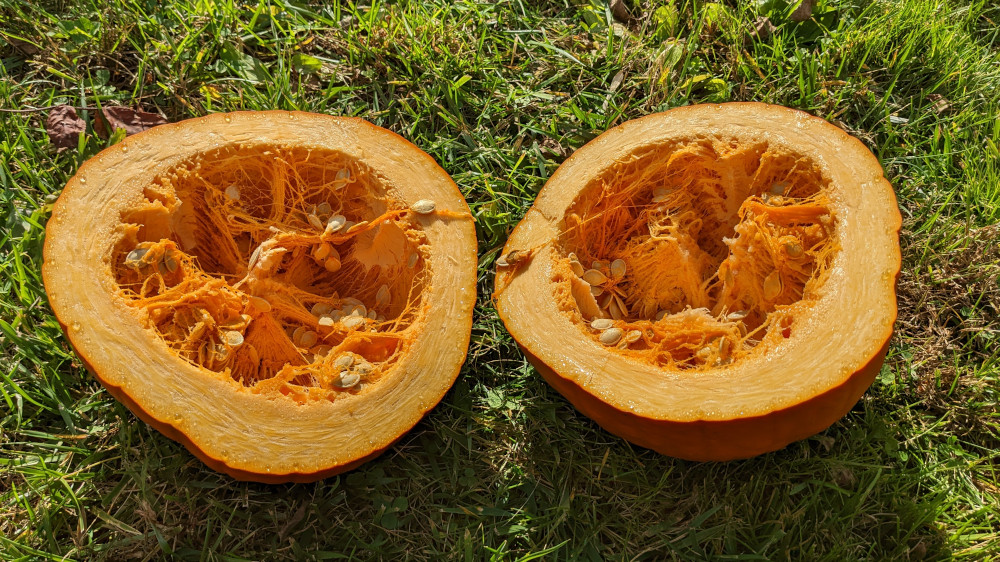
But if you’re not going to use the pumpkin for a Halloween decoration, it is much easier to just cut it straight in half. This way, you can easily access the seeds inside.
We used a sharp kitchen knife, but you could also use a pumpkin carving blade or a fine-toothed hand saw. No matter what you use, make sure to be careful. Pumpkins are slippery and it doesn’t take much to lose control of the knife.
2. Scoop Out the Seeds with a Large Spoon
Once the pumpkin is cut in half, find a large spoon and begin scooping. You’ll need to lightly scrape the sides of the pumpkin to release the seeds. Metal spoons with a wide edge work best (and quickest), but plastic or wood can also work.
Place the seeds in a large bowl or basin.
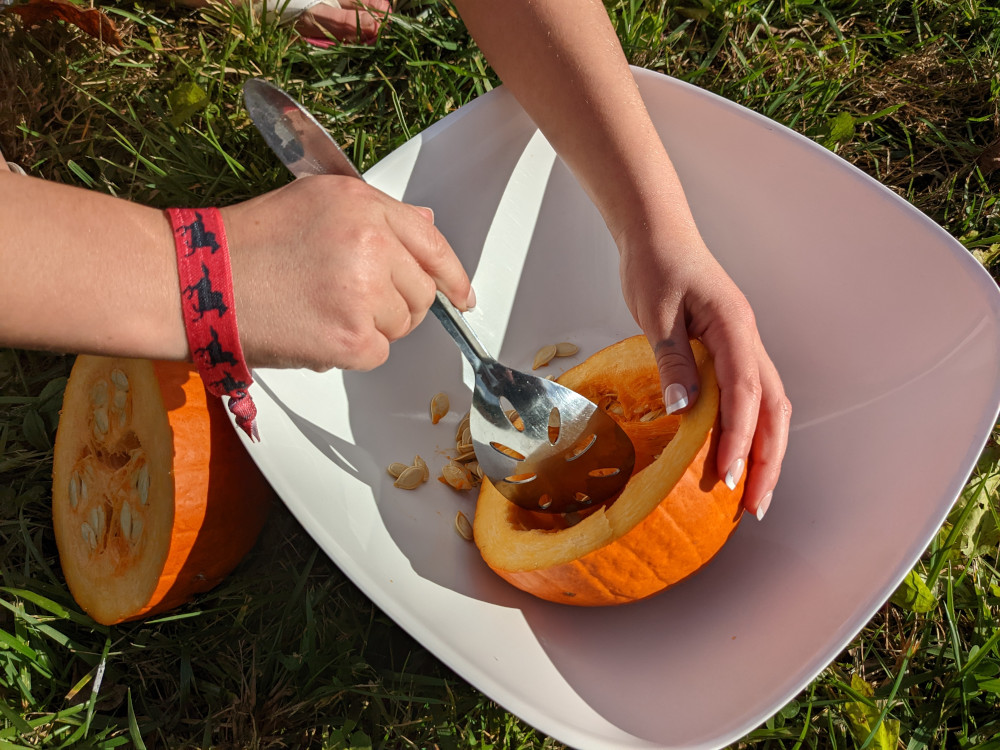
This part of the activity is a great place to get the kids involved. They seem to enjoy messing with the gooey guts of the pumpkin. And even little kids can usually manage to remove the bulk of the seeds by themselves.
If you are only after the seeds, there is no reason to dig into the pulp along the sides. If doing a jack-o-lantern, remove the seeds first. Then clear away the stringy pulp clinging to the sides and place it in a different bowl.
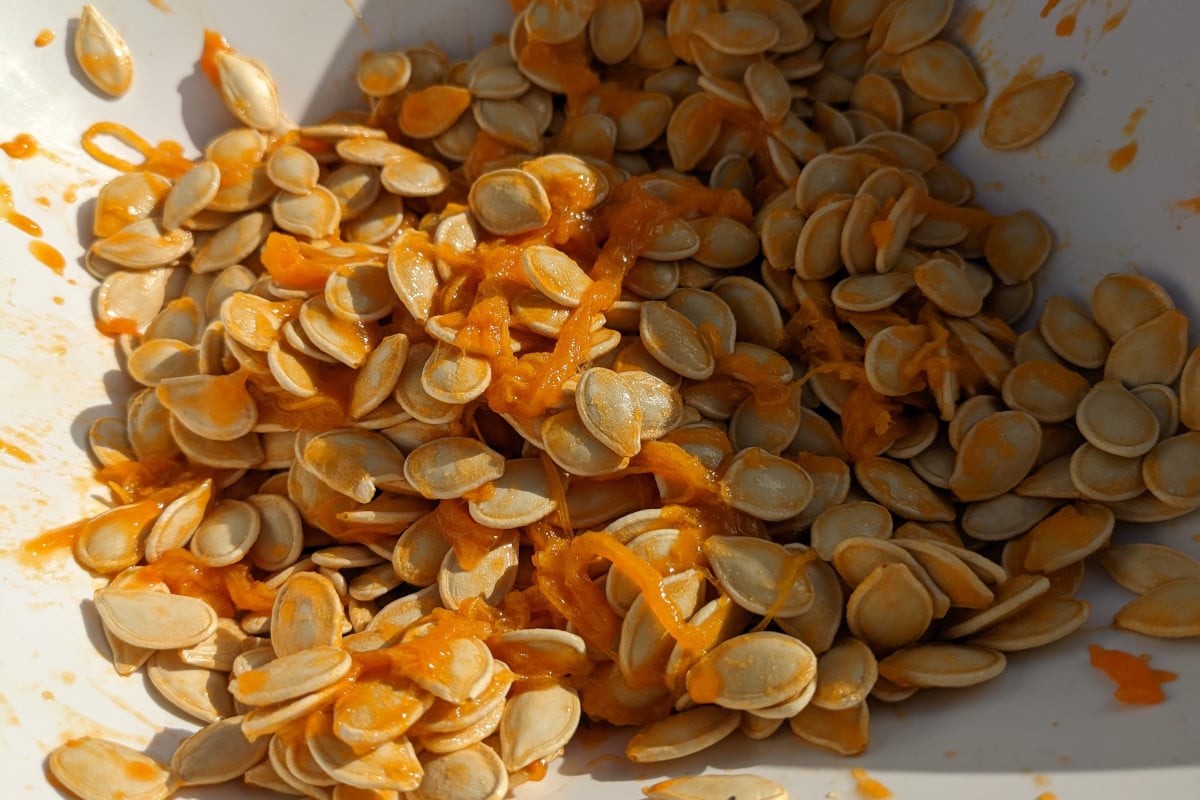
Fill the bowl with water and swish the seeds around to break off as much pulp as possible. It’s surprisingly easy to get seeds clean. There’s really no need to let them soak for a long period of time.
3. Soak In Water
Once you have all the seeds out, fill the bowl with warm water. Gently swish the seeds around and pinch them between your fingers to loosen and pull away the pulpy fibers.
You don’t need to soak the pumpkin seeds very long to get the pulp to soften and release. The more manipulating you do with your hands, the faster the process will go.

4. Rinse Using a Strainer
Once most of the pulp has been pulled off and discarded, dump your pumpkin seeds into a strainer and rinse them under cold running water. This will remove most of the leftover pumpkin guts and rinse away the slimy coating on the seeds.
One rinse should suffice if you were able to clean away much of the pulp in step 3. If not, repeat the rinsing process as needed, mixing the seeds as you go.

5. (Optional) Boil Seeds In Salty Water
If you’re making savory, salty pumpkin seeds, you may opt to boil them in salty water before roasting them. This helps the salty flavor penetrate the seeds. But, if you’re trying to cut down on sodium or have other plans for your seeds, skip this step.
To boil pumpkin seeds in salted water, add 2 cups of water plus 1 tbsp of salt to a pot for every ½ cup of pumpkin seeds. Bring the pot to a boil and allow the seeds to simmer for about 10 minutes. For saltier seeds, add up to 2 tbsp of salt per two cups of water.
Strain the seeds from the water when done, but do not rinse.
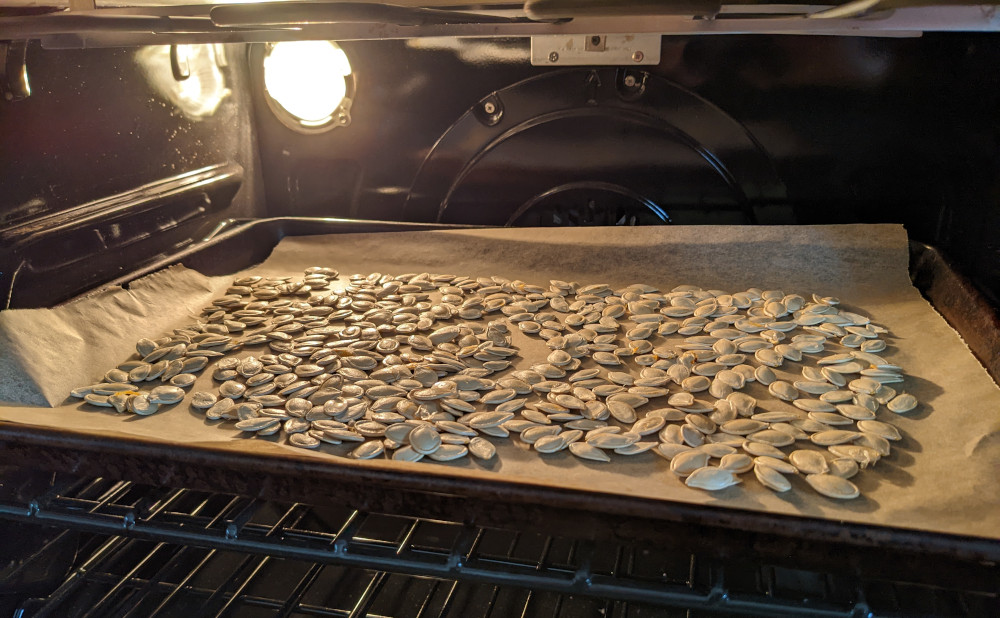
6. Let Seeds Dry
Once the seeds are thoroughly rinsed (or done boiling), it’s time to let them dry. The easiest way to do this is to place them on a parchment-lined baking sheet and spread them out evenly.
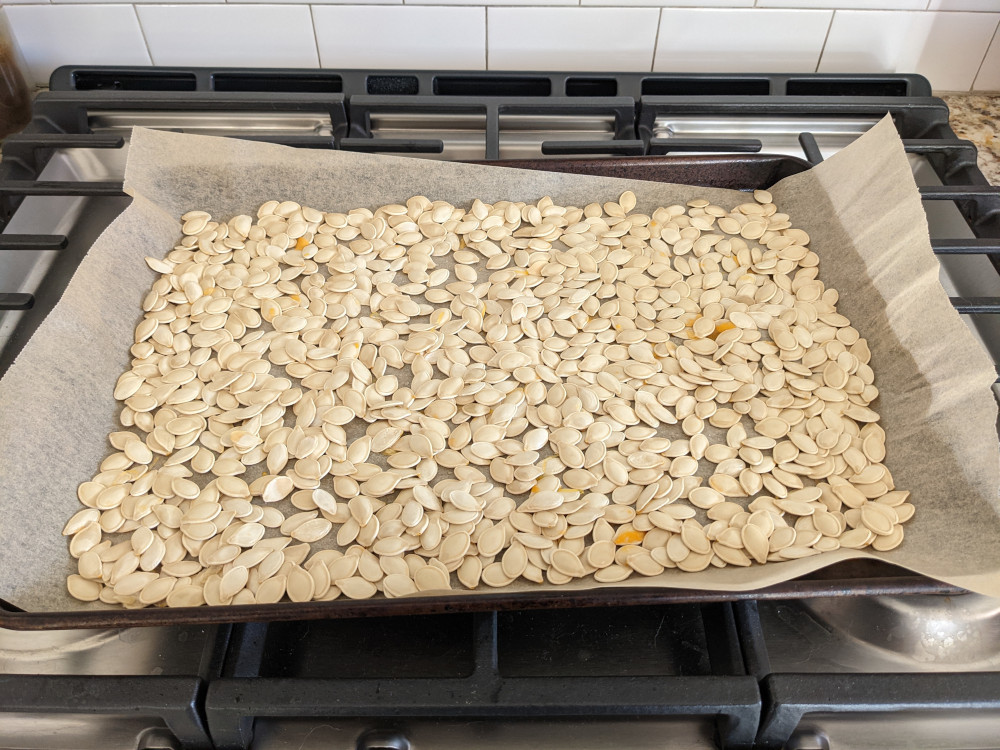
Dabbing the seeds with a paper towel will help hasten the drying process. After, set them on the counter for a few hours to dry completely. We placed ours in the oven with just the heat of the oven light and found they actually dried a little quicker this way.
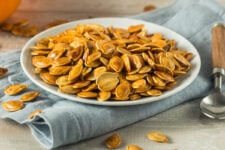
7. Season and Roast
After the seeds are dry, it’s time to season them to your liking and then roast them in the oven.
There is a lot of variation between recipes in terms of cooking temperature and time. Some call for bake temperatures as low as 175 and others as high as 400 degrees. Similarly, bake times can vary with some recipes taking less than 5 minutes and others taking over an hour.
So be sure to reference a specific recipe before you get started. Most recipes call for one cup of pumpkin seeds which is about equal to what you’ll get out of a single pumpkin. (If you need recipe inspiration, there are some great links below.)
What Are Pumpkin Seeds Good For?
What are pumpkin seeds good for? For eating, of course!
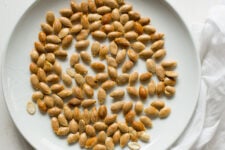
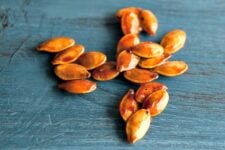
Most people eat roasted pumpkin seeds as a snack. But they also make a great topping for salads, grain dishes, and soups. You can even use sweet pumpkin seeds as a topper for oatmeal and yogurt or as an ingredient in homemade granola.
Here are some of our favorite recipes for preparing pumpkin seeds:
- Simple Roasted Pumpkin Seeds
- Candied Pumpkin Seeds
- Cinnamon Toast Pumpkin Seeds
- Pumpkin Pie Spice Pumpkin Seeds
- Mexican Spiced Pumpkin Seeds
Want to do more than just snack on your pumpkin seeds? Here are some of our favorite recipes that call for roasted pumpkin seeds or that just taste better with the addition of pumpkin seeds:
- Baby Kale Salad with Feta, Pomegranate, and Candied Pumpkin Seeds
- Fall Harvest Salad with Maple Vinaigrette
- Creamy Pumpkin Soup
- Pumpkin Stuffed With Pasta, Fontina, and Sausage
- Sweet and Spicy Mixed Nuts
How to Clean Pumpkin Seeds Step-by-Step
Want to see these steps boiled down? Use the recipe card below as your quick reference guide.

How to Clean Pumpkin Seeds
Equipment
- 1 Large bowl
- 1 Strainer
- 1 Large knife
Ingredients
- 2 medium pumpkins I used one large and one small
Instructions
- Cut open the pumpkin by splitting it through the middle using a kitchen knife, pumpkin knife, or fine-toothed saw.
- Scoop out the seeds into a bowl using a large metal spoon. Avoid scooping more pulp than necessary.
- Soak the seeds in water and dislodge the pulp by squeezing the seeds between your fingers.
- Rinse the pumpkin seeds under cold water in a strainer.
- Optional – Boil the seeds in salted water (2 cups water + 1 tbsp salt for every ½ cup of pumpkin seeds) for 10 minutes. This will make the seeds taste saltier after roasting.
- Spread seeds out over a parchment-lined baking sheet and allow them to dry fully.
- Season and roast the seeds according to your favorite recipe!