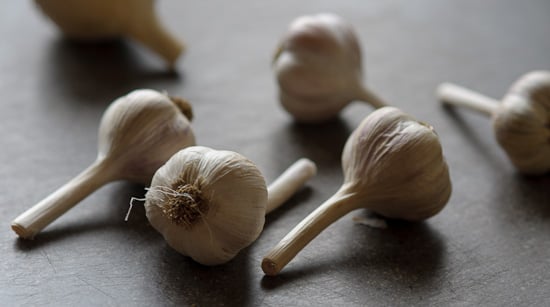
My whole family adores garlic… I use it in my cooking just about every day and my 10 year old daughter even eats it raw! In order to have a constant supply, I started growing my own a few years ago.
One of the great things about growing your own garlic is that each clove you plant matures into a full head. Also, there are many types of garlic you can grow that are far more beautiful and nuanced in flavor than the standard variety you’ll find in a grocery store.
The garlic you buy in the store has been treated with growth inhibitors: it’s definitely not garlic you should plant. Instead, look for “seed garlic” from a local or online gardening source. My daughter and husband recently attended the Hudson Valley Garlic Festival (an annual event in my area that draws thousands of visitors) and in addition to eating their fill of chocolate chip cookies and other fun things made with garlic, they brought me home a bunch of different organic varieties for planting.

Fall is the perfect time to plant garlic. The first thing you’ll need to do is determine which kind is best for where you live: softneck or hardneck. Softneck varieties do well in warm climates, but if you live in an area with cold winters (like I do), hardneck garlic will grow best. Hardneck varieties grow a flower stalk (aka a garlic scape). These should be snapped off after they’ve curled once or twice: they make great additions to your spring cooking.
Raised beds are ideal for planting garlic because they have good drainage; this is essential because soil that holds water can cause garlic to rot. Your garlic will benefit from you working plenty of organic matter into your planting area — like many other edible plants, garlic prefers crumbly soil that is rich in nutrients.
Once you’ve decided which kind of garlic to plant and you have a suitable site, choose healthy bulbs and break them into cloves, leaving the papery skin on (don’t bother to plant tiny cloves…save them for cooking). Plant each clove pointy end up and 2 inches deep (unless you live in a very cold climate, in which case you can plant them as deep as 4 inches). The cloves should be 6-8 inches apart.
If it doesn’t rain much in the weeks after planting, you should water to keep your new garlic bed moist. Add a layer of mulch to help conserve moisture and add more in the spring to help minimize weeds.
You’ll know your garlic is ready when the bottom leaves start to die off, but the top ones are still green. This generally begins to occur in early July, but different types of garlic will require different growing times. Use a digging fork and take care when harvesting your garlic so you don’t damage the bulbs. Don’t wait too long to harvest your garlic, or it will start to rot.
Garlic should be cured for a few weeks before you store it long-term: you can find more information about curing here.
Have you grown your own garlic before or do you plan to try? I’ll be planting mine this weekend since it’s best to wait a few weeks after the first frost to do so.


