This homemade pear liqueur captures the essence of autumn in a bottle. Infused with ripe pears, lemon zest, and vodka, it matures into a smooth, sweet, and potent adults-only treat. Perfect for sipping or enhancing winter cocktails.
The weather was spectacular today. Frost and fog early on gave way to a gloriously sunny afternoon. The autumn foliage here in the mountains of western Maryland has never been more beautiful. At sunset, the thinnest imaginable crescent moon hung in the sky, illuminating clouds that looked like wisps of smoke.
I wish I could have bottled it all up to enjoy a few months from now…just like I’m planning to do with this homemade pear liqueur.
I first gave this boozy fruit-infused delight a go last fall. I couldn’t wait for pears to come back into season this year to make another batch. It’s based on a Pear Cordial recipe I found in an old issue of Hobby Farm Home magazine.
How to Make Pear Liqueur
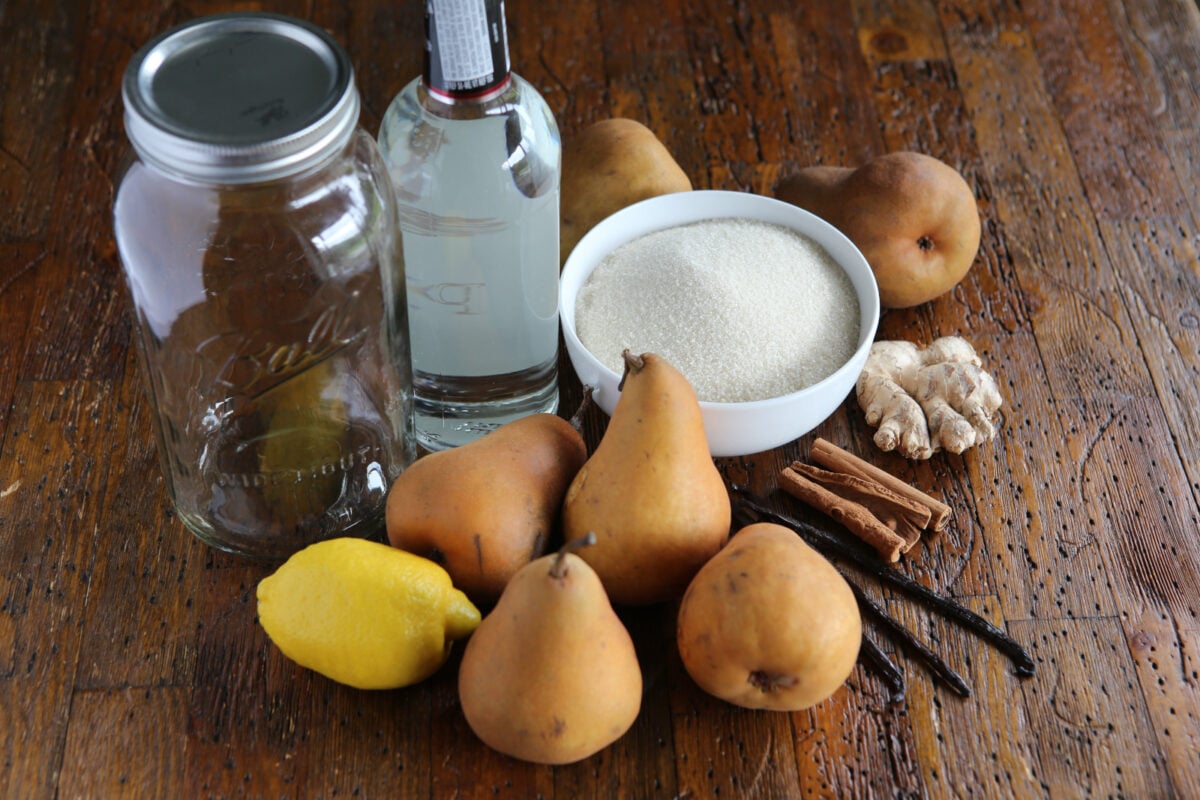
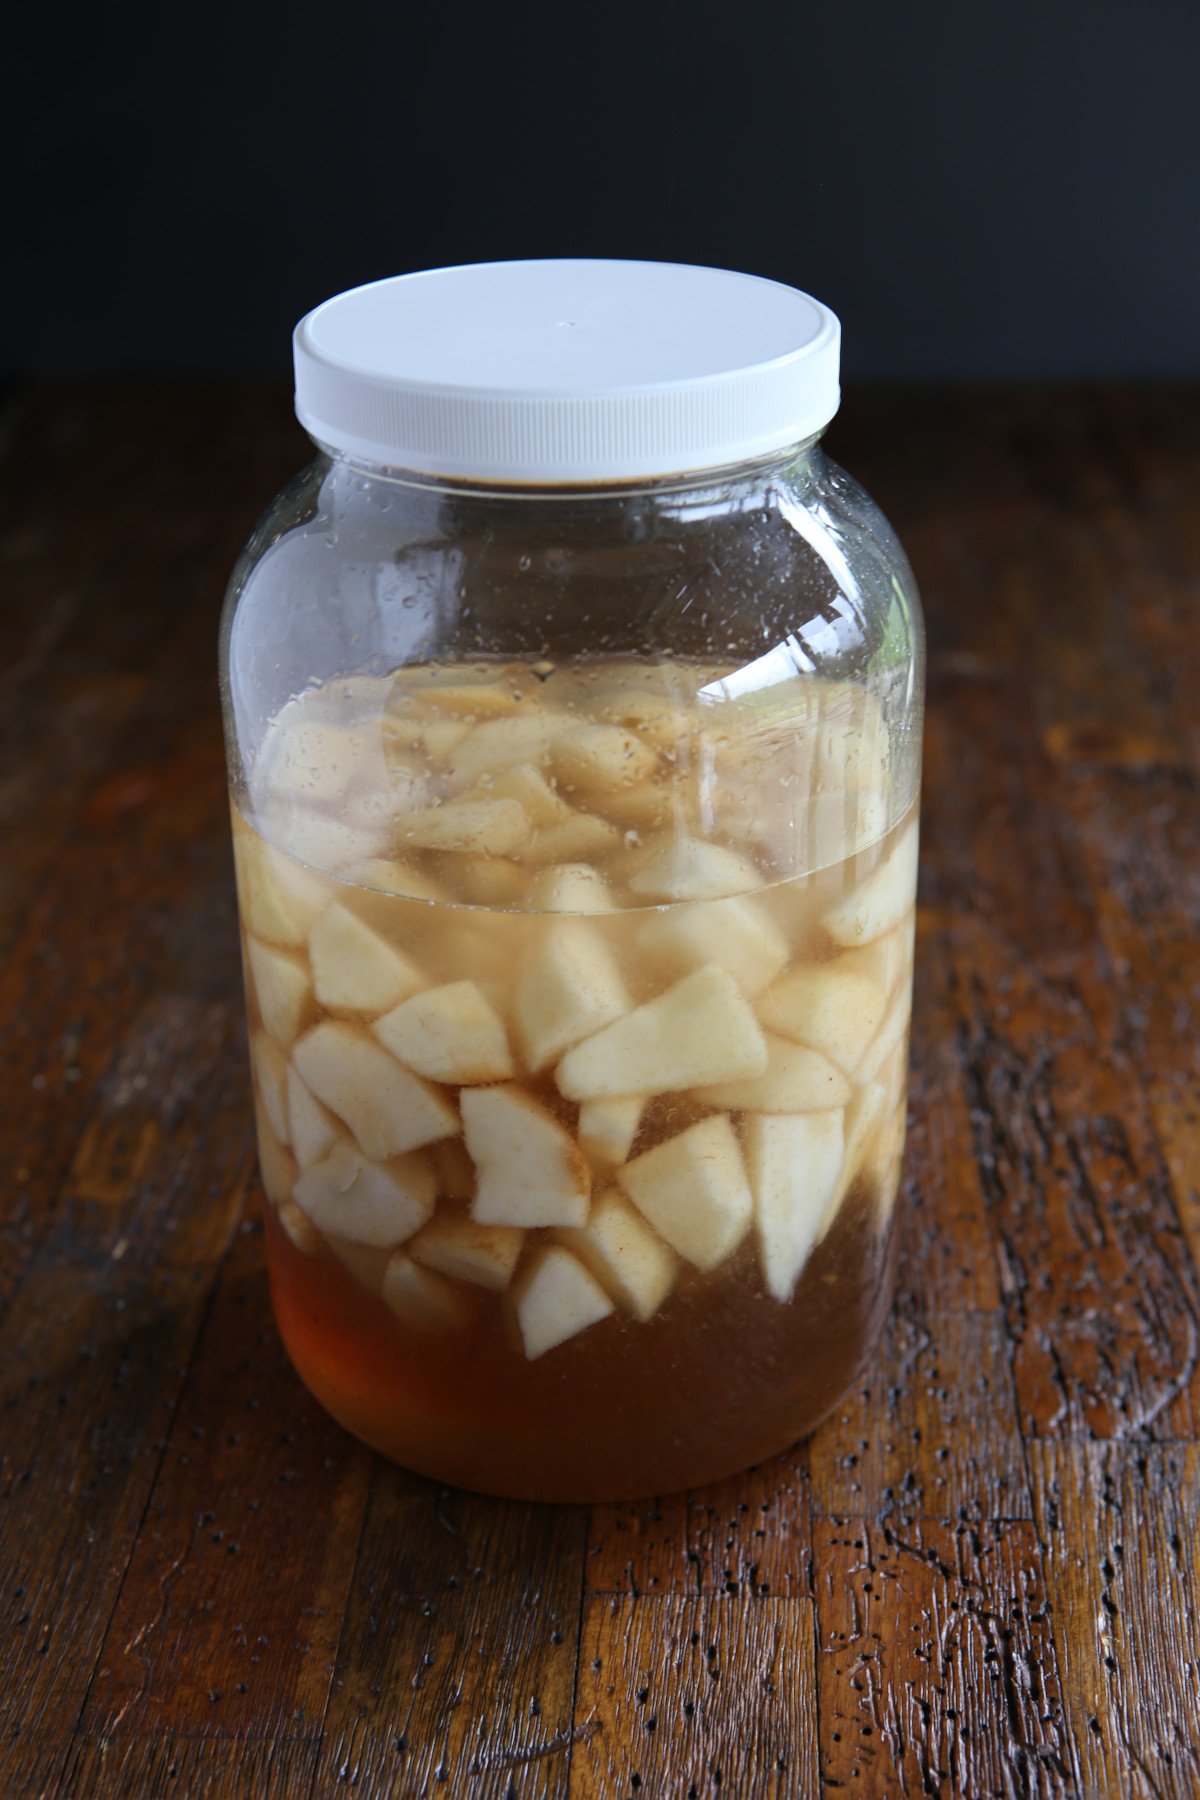
First you’ll need to gather up your ingredients, along with a glass jar. The full recipe will require a 1 gallon jar, but you can also cut all the ingredient in half to fit into a 1/2 gallon jar if you want to try it out first.
Key Ingredients
Jars: I use this 1 gallon jar.
Pears: You can use any kind of pear for this recipe. I made a batch with Bosc pears and one with Bartlett pears and both are delicious.
Vodka: I just use an inexpensive vodka. Vodka, by definition, is a neutral spirit and required to to be “without distinctive character, aroma, taste, or color,” so I don’t think there’s much point in using an expensive vodka (1). You could also experiment with brandy, rum, or whisky, but your mileage may vary.
Sugar: I prefer to use organic cane sugar to make the simple syrup.
Infusions: These are optional and allow you to get a bit creative. In my version I added ginger, cinnamon, lemon zest, a stick of cinnamon.
Step-by-Step Process
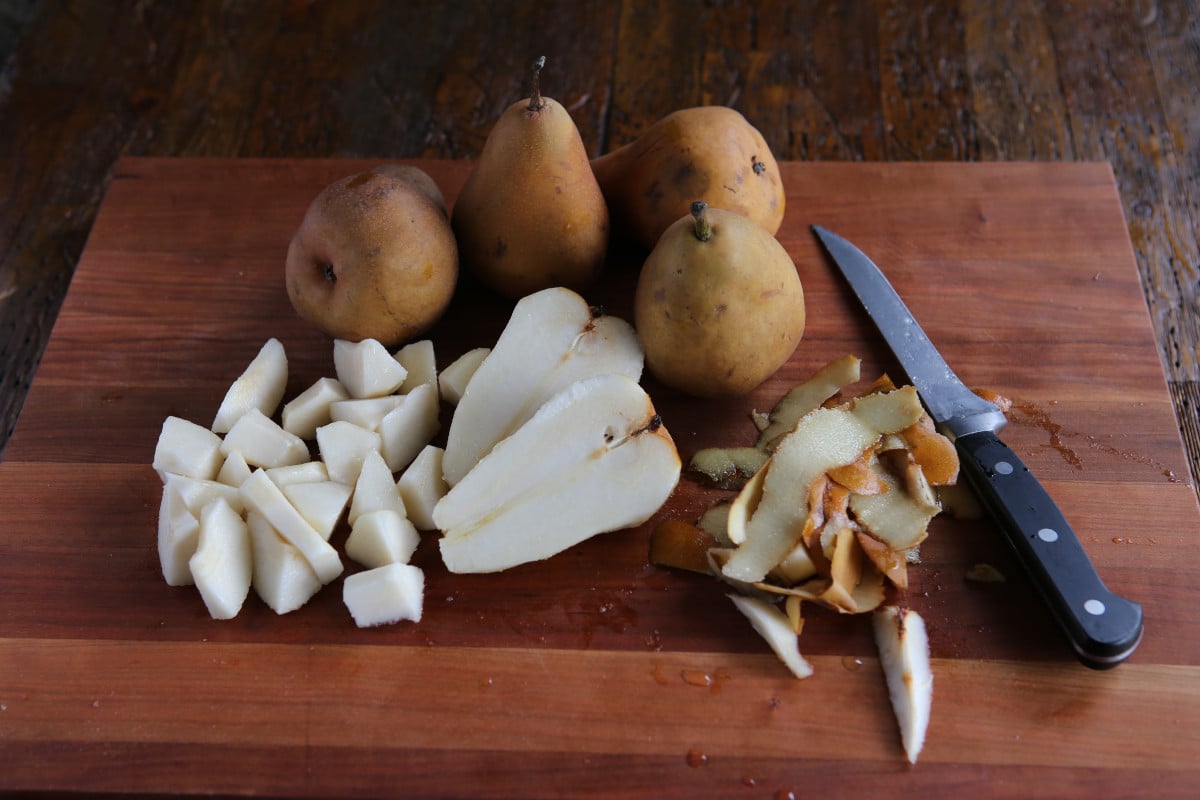
1. Peel and cut up the pears.
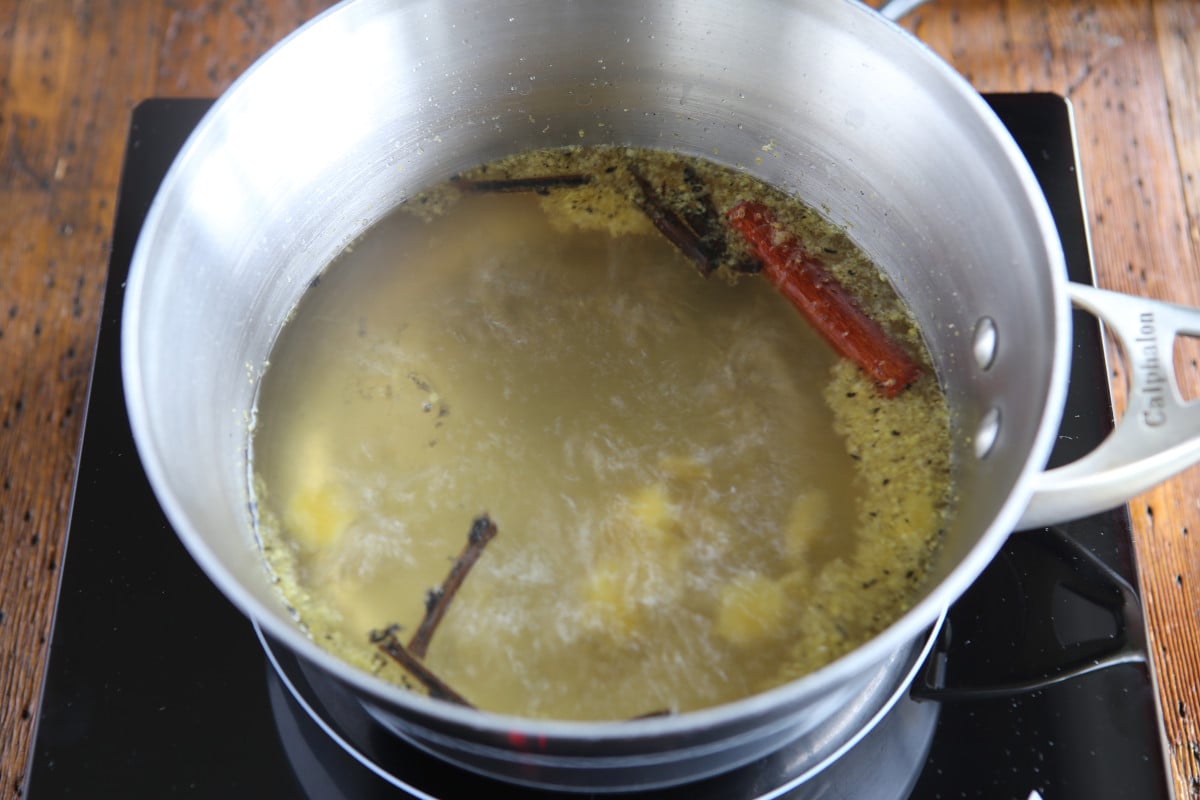
2. Bring the water to a boil and add any ingredients you’d like to infuse. Allow it to simmer for a while to draw out the flavors. When you’re ready, add the sugar until it dissolves, remove from heat, and let stand until it reaches room temperature.
3. Place the pears and lemon zest in a sterilized glass jar. Pour the syrup over the pears, add the vodka, and screw on the lid. Give the jar a couple of turns to mix things up. Store the jar in a cool dark place for a month, but roll the jar around every few days to ensure all the pears get their share of time down in the liquid.
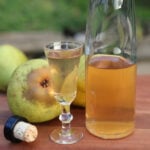
Ideally you should allow the pears to rest in the liquid for a month, then strain them out and wait for another six before drinking it…such torture! I’m making this in mid-September, so realistically I’m going to give it a month in the jar, strain out the pears, and then pour it into my swing top glass bottles to enjoy and give as gifts around the holidays.

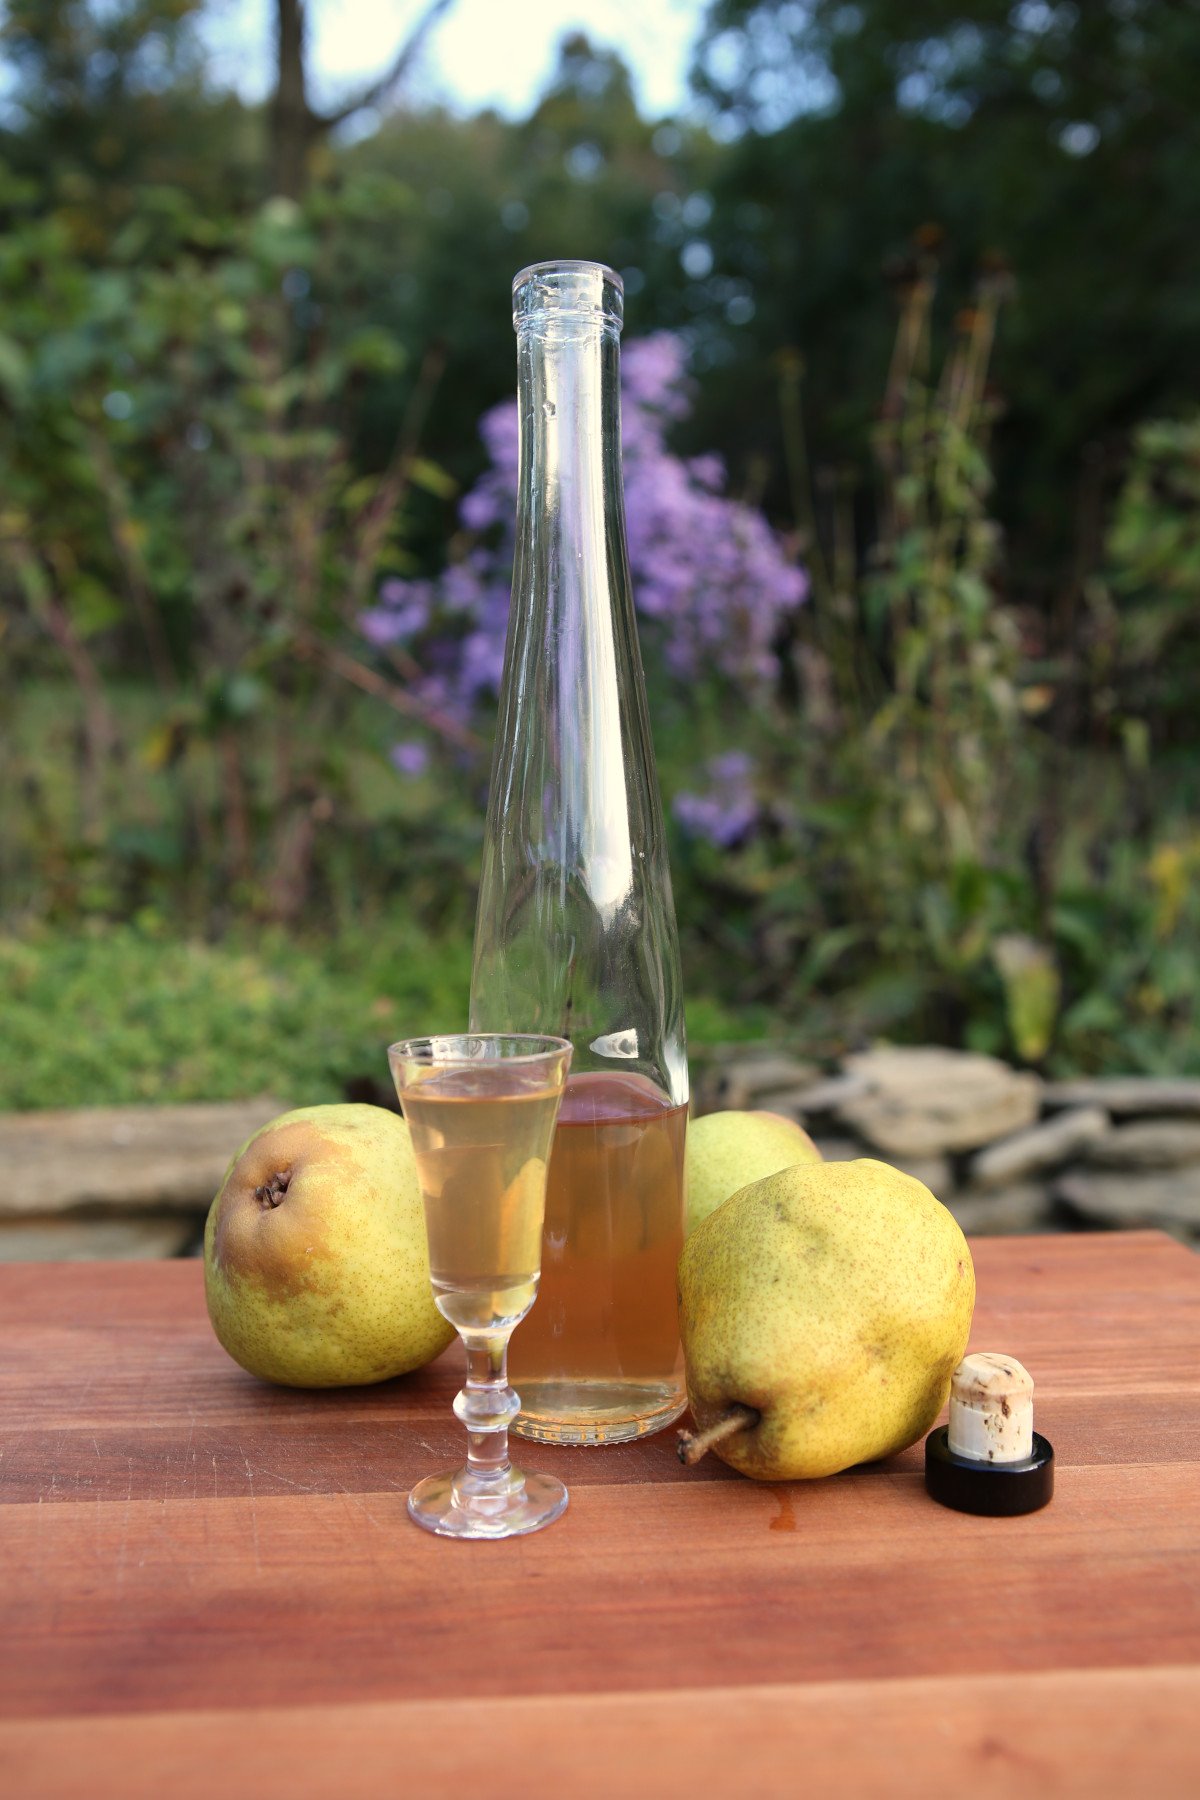
That said, do your best to wait as long as you can. The end result will be a smooth and sweet adults-only treat imbued with the essence of pear. This liqueur goes down easy so do keep in mind there’s a fair amount of alcohol in here: it’s potent!
Drink in small amounts as-is, over ice, mixed with seltzer, or use it to gussy up winter cocktails. I imagine a spoonful or two would also be wonderful over vanilla ice cream.
Homemade Pear Liqueur
Equipment
Ingredients
- 2 cups water
- 3 cups cane sugar
- 6 pears very ripe, peeled and sliced
- 1 tbsp lemon zest zest from one whole lemon
- 2 cups vodka or other spirit of your choosing.
Instructions
- Bring water and any flavorings you'll be adding to a boil and let simmer for 5-10 minutes until flavors are infused. Slowly stir in the sugar until dissolved completely. Remove from heat and allow to stand until it reaches room temperature.
- In a sterilized 1 gallon glass jar, combine peeled and sliced pears and lemon zest. Strain the simple syrup if you infused it with herbs, etc., then pour over the pears until the liquid is about halfway up the jar (most of the simple syrup mixture will be used). Add the vodka, cap tightly, and roll around to combine. Allow to rest in a cool, dark place for about 4 weeks, shaking every couple of days.
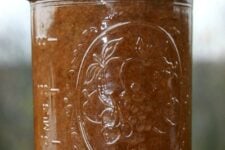
- Strain the pears out by pouring through a fine-mesh sieve (or use cheesecloth). Transfer strained liquid into new sterilized glass jar(s) and and allow to rest undisturbed for another 6 months (ideally), or at least a couple more months.
- Strain out any additional sediment through cheesecloth before pouring into finall sterilized glass containers.


I’ve left it just over a month and am currently straining the pears out. I had a taste, it’s tastes very sugary, will leaving it 6 months take that away?
It is a fairly sugary liqueur, and I don’t think more time will make it less so. If you’d prefer it to be less sweet, you have a few options: 1) add more alcohol, which will reduce the sweetness but also make it have a thinner mouthfeel, 2) make a second batch with less (or no) sugar and combine them to make a single larger batch that’s less sweet, or 3) keep it as is, but serve over ice or in a mixed drink. Around the holidays I actually mixed it with a bit of bourbon over ice and it was fantastic.
Well I read so many recipes and some of them said not to peel the pear leave it with the skin on! Therefore that’s what I did and a lot of them called for Brandy but I did this recipe with the vodka. This is my first time! Wish me luck! I will post later how it turns out. So some say that after about a week I could taste it this one said to leave it in the dark place for I don’t know what it said like 6 months? I don’t know anyway I pulled it out I shook up the ingredients every day. Please don’t hesitate to reply!
Hi Mary. I tried to stick close to the original recipe inspired by an old issue of Hobby Farm Home magazine. It says to wait 6 months, but I can’t wait that long! I made this year’s batch in early October and last week I poured it into these bottles so I can give them away as holiday gifts. If the recipients would like to let theirs age further, it’s up to them. But I will be enjoying mine over the holidays! Best of luck to you!